How to Use a Foam Sealant with a Dispenser Gun: A Step-by-Step Guide for Better Results
When it comes to sealing gaps around windows, doors, pipes, and other building penetrations, using a polyurethane foam sealant with a dispenser gun offers significant advantages over traditional straw-applied cans. A foam gun provides greater precision, less waste, and a more professional finish, making it the preferred choice for contractors, remodelers, and serious DIYers alike.
Whether you’re installing new windows, insulating around plumbing, or air sealing a home, here’s everything you need to know about using a foam sealant with a dispenser gun.
Why Use a Foam Gun?
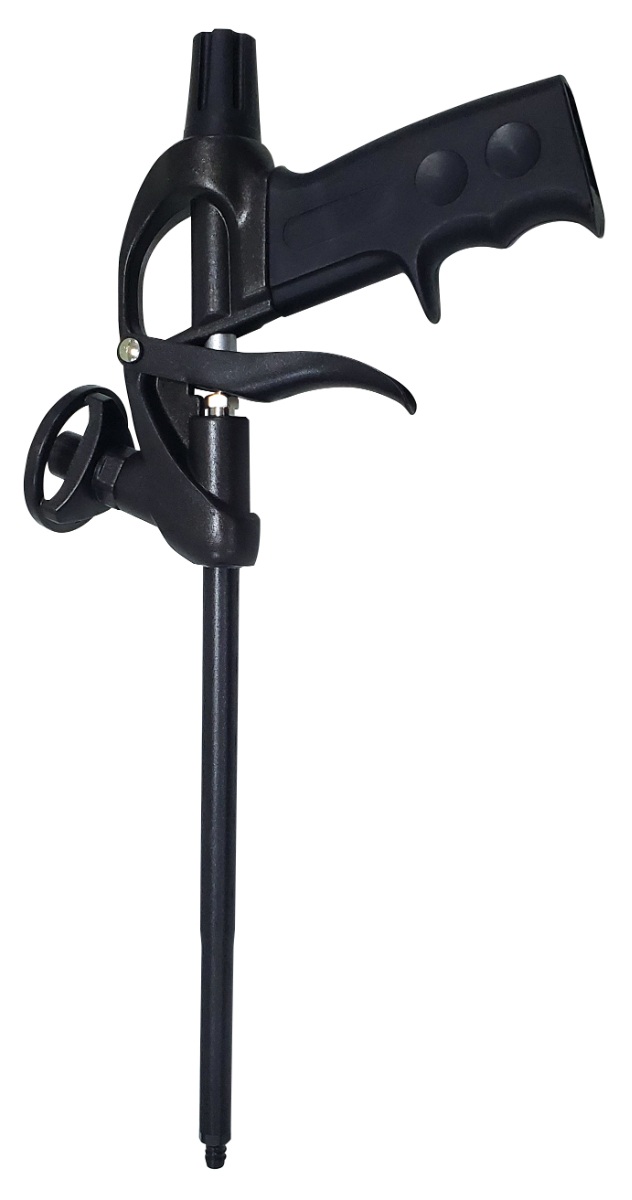
A dispenser gun gives you complete control over the amount of foam being applied. Instead of releasing foam all at once, the trigger and flow adjustment knob allow you to apply a smooth, consistent bead exactly where it’s needed.
Benefits include:
- More precise application
- Reduced foam waste
- Cleaner finished appearance
- Ability to stop and restart without replacing the can
- Less cleanup and trimming
- Better access to hard-to-reach areas
Professional installers often rely on foam guns because they improve productivity while delivering higher-quality results.
Step 1: Prepare the Surface
Before applying foam, make sure the surface is clean and free of dust, oil, grease, and loose debris. Remove any old insulation or deteriorated sealant if necessary.
For best adhesion, lightly mist the application area with water if recommended by the foam manufacturer. Moisture helps many polyurethane foams cure faster and expand more evenly.
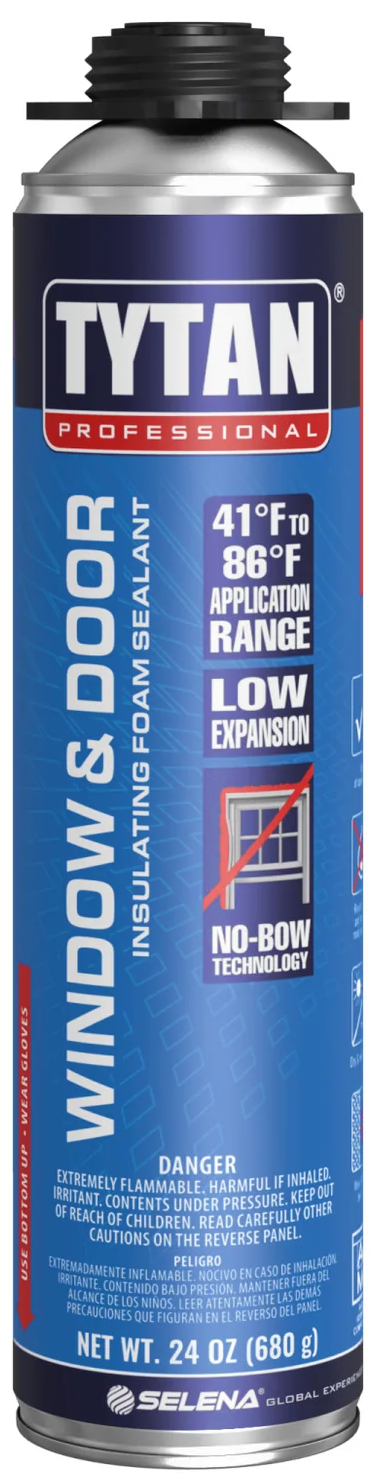
Step 2: Attach the Foam Can
Shake the foam can vigorously for about 30 to 60 seconds.
Hold the dispenser gun with the barrel pointing downward and carefully screw the foam can onto the gun adapter. Tighten it securely, but avoid overtightening.
Once attached, keep the can upside down during use. This allows the foam to flow properly through the gun.
Step 3: Adjust the Flow
Most foam guns include a flow adjustment screw located at the rear of the gun.
Turn the adjustment knob until you achieve the desired flow rate. Start with a lower setting and increase it as needed. A slower flow provides better control, especially around windows and doors where overfilling can create unwanted pressure.
Step 4: Apply the Foam
Place the nozzle into the gap or joint and gently squeeze the trigger.
Apply the foam in a slow, continuous motion.
Keep in mind that polyurethane foam expands after application. Most products expand significantly, so it’s generally recommended to fill only about one-third to one-half of the cavity and allow the foam to expand naturally.
Avoid overfilling, particularly around window and door frames, as excessive expansion can place pressure on the frame.
Step 5: Allow the Foam to Cure
Curing times vary depending on temperature, humidity, and the specific foam product.
Once cured, trim away any excess foam using a utility knife.
The cured foam can typically be painted, covered with trim, or protected from UV exposure according to the manufacturer’s recommendations.
Cleaning the Foam Gun
Proper cleaning is essential for extending the life of your dispenser gun.
If you’re changing foam cans or storing the gun for an extended period:
- Remove the foam can according to the manufacturer’s instructions.
- Attach a foam gun cleaner can.
- Flush the gun until the cleaner runs clear.
- Wipe excess foam from the nozzle and exterior before it hardens.
Never allow foam to cure inside the gun, as hardened foam can permanently clog internal components.
Tips for Professional Results
- Wear gloves and eye protection during application.
- Always keep the foam can upside down while dispensing.
- Work in temperatures recommended by the foam manufacturer.
- Store foam cans upright in a cool, dry location.
- Clean the gun immediately after use if the can will not remain attached.
- Practice on scrap material if you’re using a foam gun for the first time.
Common Applications
Foam sealants applied with a dispenser gun are ideal for:
- Window and door installations
- Air sealing around framing
- Plumbing penetrations
- HVAC openings
- Electrical penetrations
- Attic and basement air sealing
- Garage and workshop insulation projects
- Filling cracks and gaps in exterior walls
Get the Most from Your Foam Sealant
Using a foam sealant with a dispenser gun is one of the easiest ways to improve efficiency, reduce waste, and achieve cleaner, more consistent results. The added precision helps ensure better insulation, improved energy efficiency, and a more professional finish on every project.
Whether you’re a contractor completing multiple installations each day or a homeowner tackling a weekend improvement project, investing in a quality foam dispenser gun can make every can of foam work harder and every application look better.